pygame-menu


Source repo on GitHub, and run it on Repl.it
Introduction
Pygame-menu is a python-pygame library for creating menus. It supports selectors, buttons, labels, color inputs, and text inputs, with many options to customize.
Comprehensive documentation for the latest version v3+ is available at https://pygame-menu.readthedocs.io
For pygame-menu v2, check out https://github.com/ppizarror/pygame-menu/blob/v2/README.md
Install Instructions
Pygame-menu can be installed via pip. Simply run:
$> pip install pygame-menu
To build the documentation from a Git repository:
$> clone https://github.com/ppizarror/pygame-menu
$> cd pygame-menu
$> pip install -e .[doc]
$> cd docs
$> make html
First steps
Making games using pygame is really cool, but most games
(or applications) require end-user configuration. Creating complex GUI
objects to display a menu can be painful. That why pygame-menu
was designed.
Here is a simple example of how to create a menu with pygame-menu
(the code is available in pygame_menu.examples.simple.py):
- Import the required libraries
import pygame
import pygame_menu
- Initialize pygame
pygame.init()
surface = pygame.display.set_mode((600, 400))
- Make your menu
def set_difficulty(value, difficulty):
    # Do the job here !
    pass

def start_the_game():
    # Do the job here !
    pass

menu = pygame_menu.Menu(300, 400, 'Welcome',
                       theme=pygame_menu.themes.THEME_BLUE)

menu.add_text_input('Name :', default='John Doe')
menu.add_selector('Difficulty :', [('Hard', 1), ('Easy', 2)], onchange=set_difficulty)
menu.add_button('Play', start_the_game)
menu.add_button('Quit', pygame_menu.events.EXIT)
- Run your menu
menu.mainloop(surface)
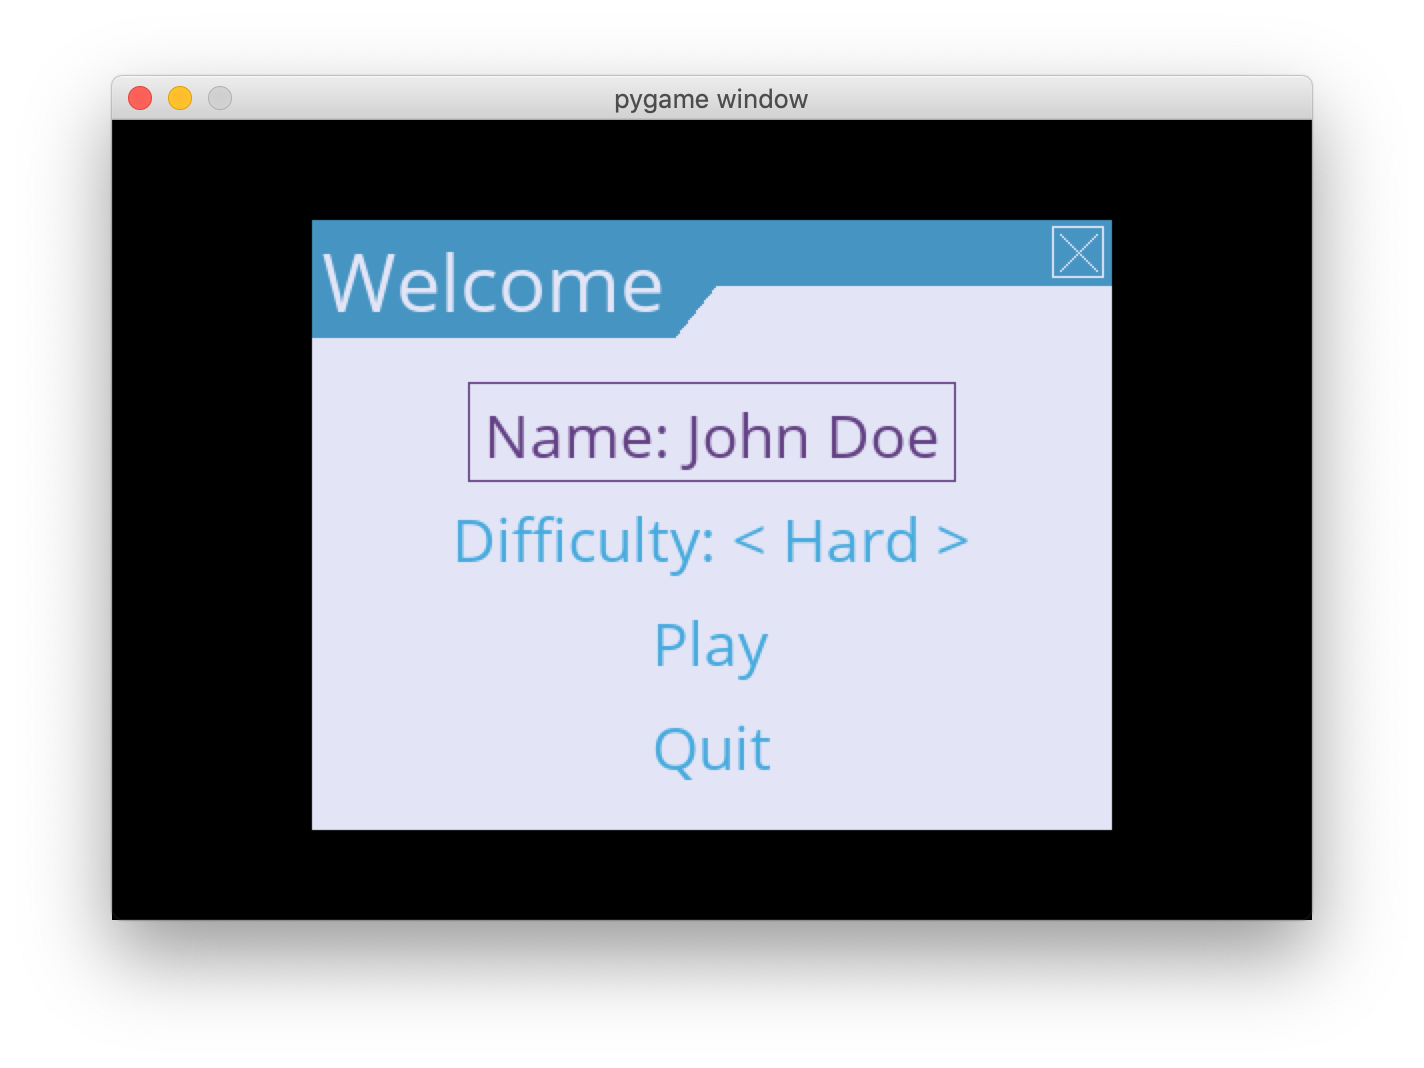
Tadada… !!! Such a beautiful menu \(^o^)/
Interested in going deeper into menu design ?
Advanced usage
This chapter define rules and advanced tips and tricks to develop extensions
for pygame-menu. The main addressed topics are:
Widgets API
A menu is in fact a list of widgets arranged on the same surface. Access to a widget in a menu can easily be done with two methods:
widget = menu.get_widget('MyWidgetID')

selected = menu.get_selected_widget()
Each pygame_menu widget and its behaviors are defined in a
class. The currently existing classes are:
For advanced programmers, those classes can be used to design custom menus or windows.
Have a look at pygame_menu.widgets.examples.scrollbar.py for
instance. It shows how to use the pygame_menu.widgets.ScrollBar
class to display large custom surfaces.